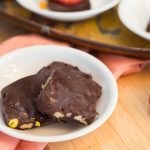
I can still vividly recall the enchanting aroma of my mom’s homemade chocolate fudge wafting through our kitchen during festive seasons in Romania – Christmas, New Year’s Day and Easter. The anticipation of that first bite, the smooth texture melting on my tongue, is a cherished childhood memory.
Determined to recreate this nostalgic delight, I embarked on a culinary journey. Armed with maple syrup in lieu of white sugar and a vision of creating a healthier version with less sugar, I tinkered with ratios until I struck the perfect balance. The result is a homemade vegan chocolate fudge that retains all the fudgy, smooth and creamy goodness of my mom’s recipe, yet with a touch of my own.
Your Guide For This Homemade Vegan Chocolate Fudge
- Benefits For The Brain
- How To Make This Recipe
- Watch The Recipe Video
- Boost The Nutrition Of This Recipe
- Frequently Asked Questions
Homemade Vegan Chocolate Fudge – Benefits For The Brain
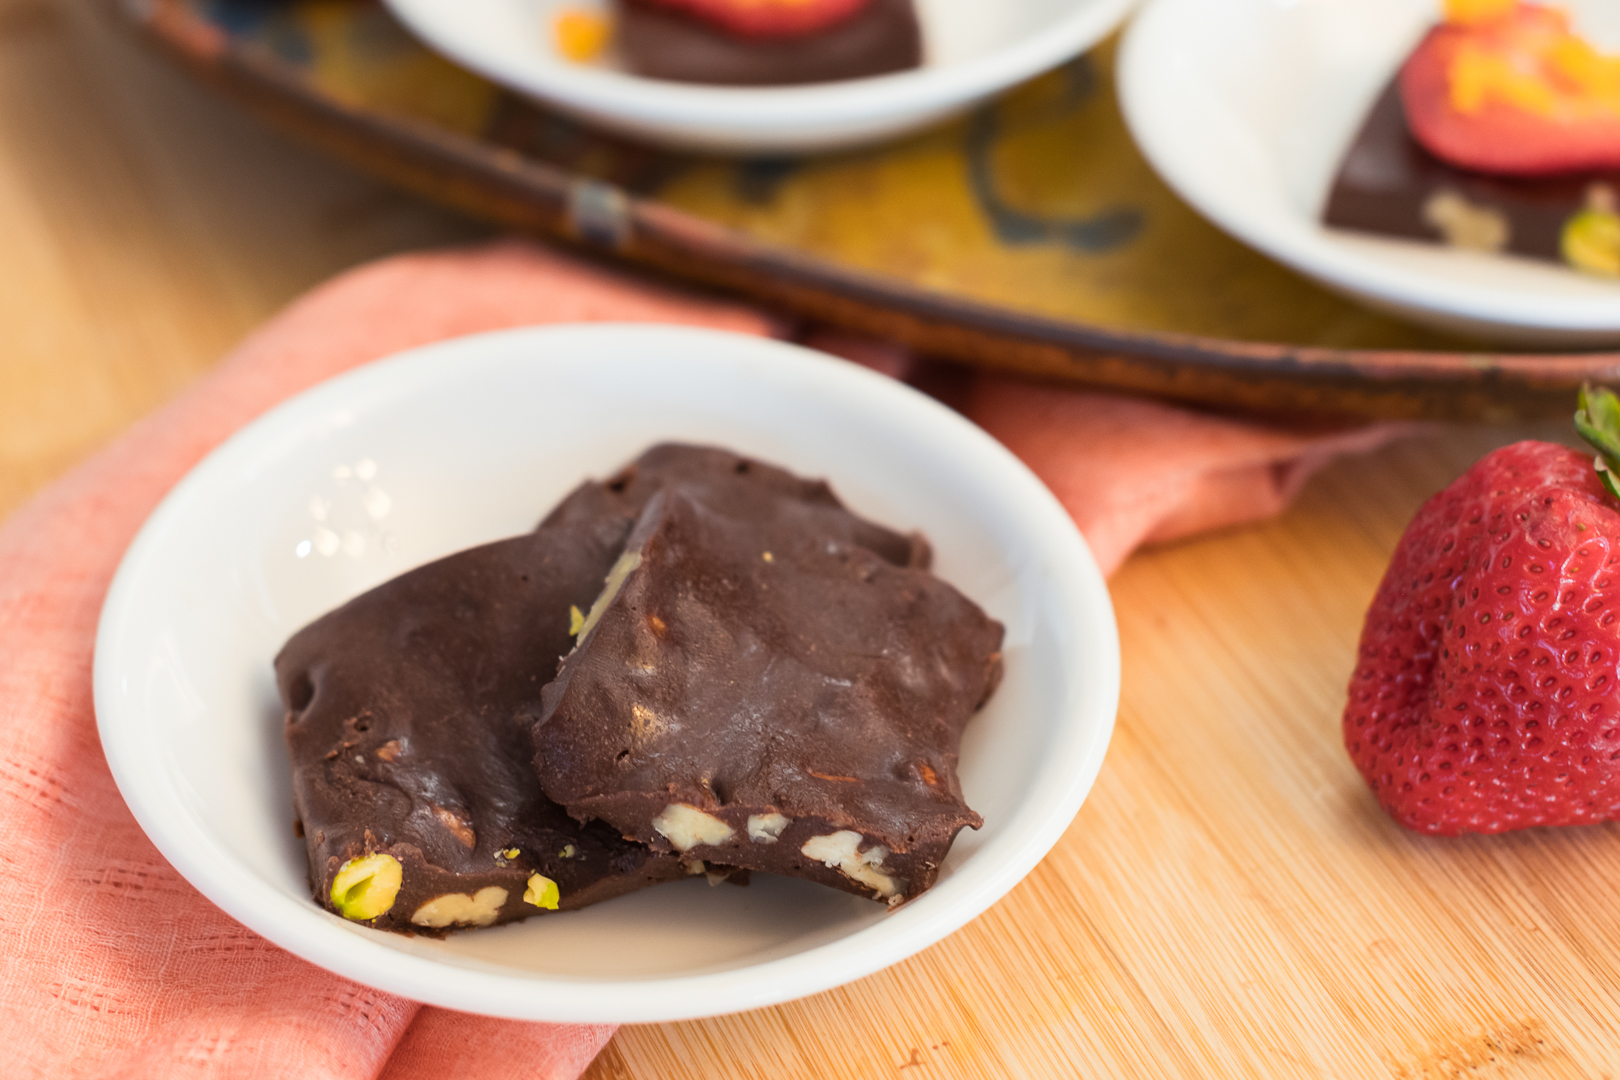
While fudge is undoubtedly a treat, I couldn’t resist elevating it a notch with a medley of nuts like pecans, walnuts and pistachios. Not only do they impart a delightful crunch, but these nuts also bring a host of brain-boosting benefits, thanks to rich omega-3 fatty acid content. Feel free to choose your favorite nuts – the result will be equally delicious.
How To Make This Homemade Vegan Chocolate Fudge With Only 5 Ingredients
Step 1
Line an 8×8” baking dish with parchment paper, leaving some overhang on the sides for easy removal. Set aside.
Step 2
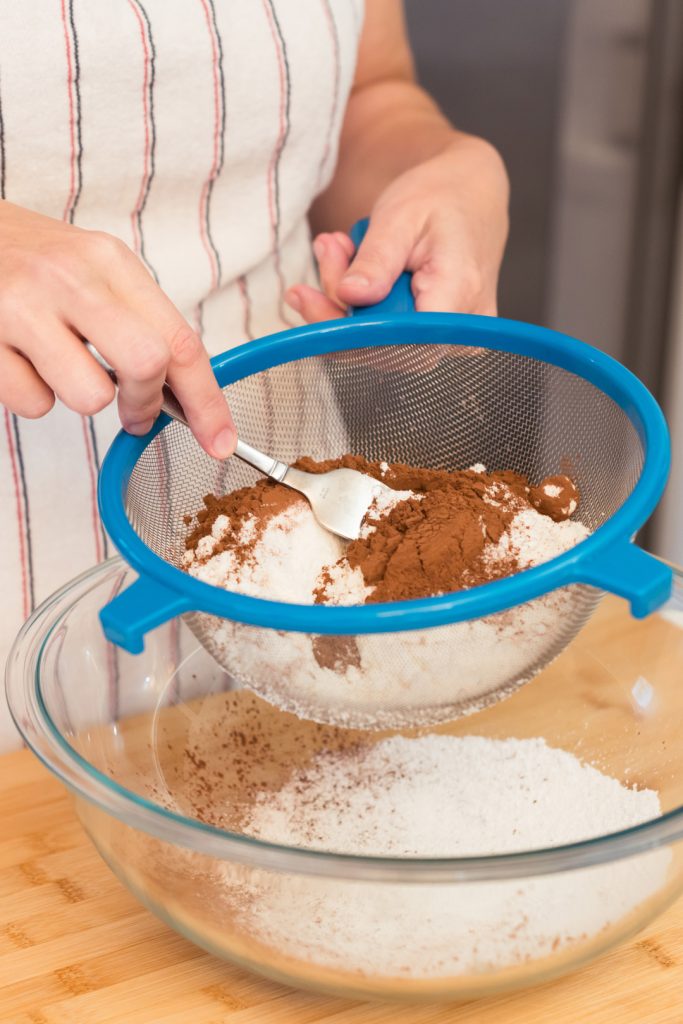
Sift the coconut milk powder and the cocoa powder. This will ensure that the consistency of the fudge will be smooth and free of clumps.
Step 3
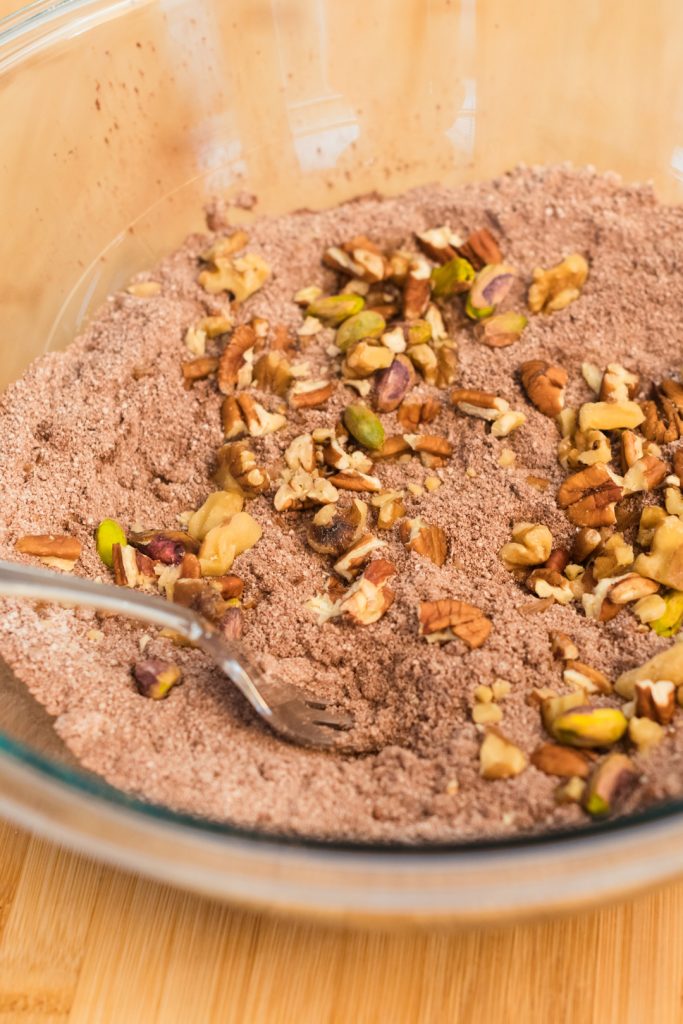
Stir in the vanilla extract and the chopped nuts.
Step 4
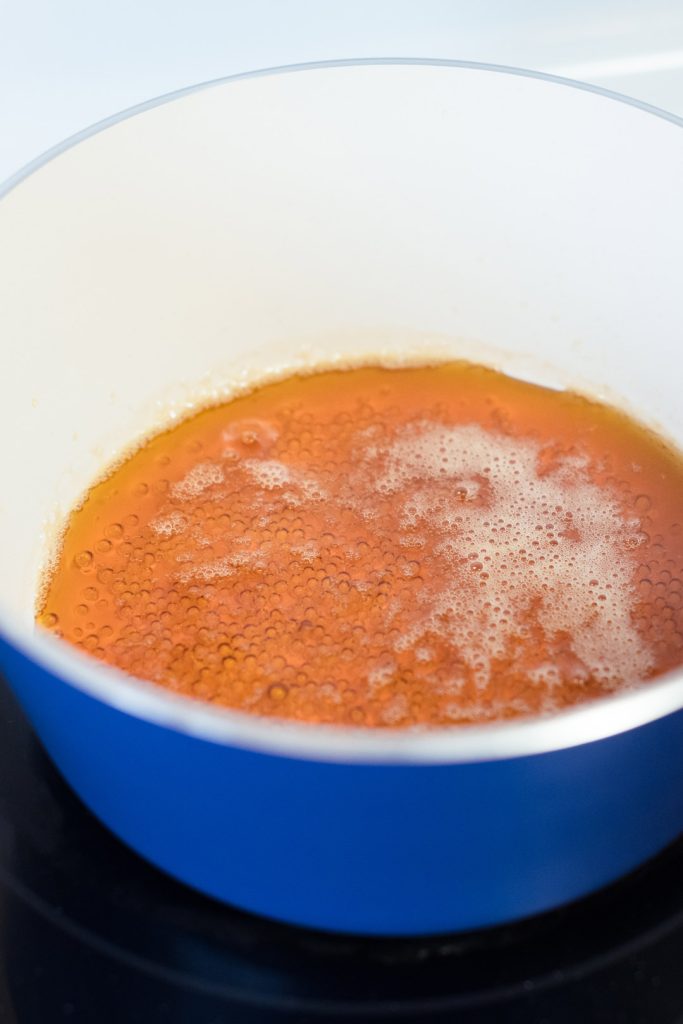
In a small saucepan heat the maple syrup over medium heat until it comes to a gentle boil. You don’t have to wait for the mixture to thicken. Remove from heat right when it starts boiling.
Step 5
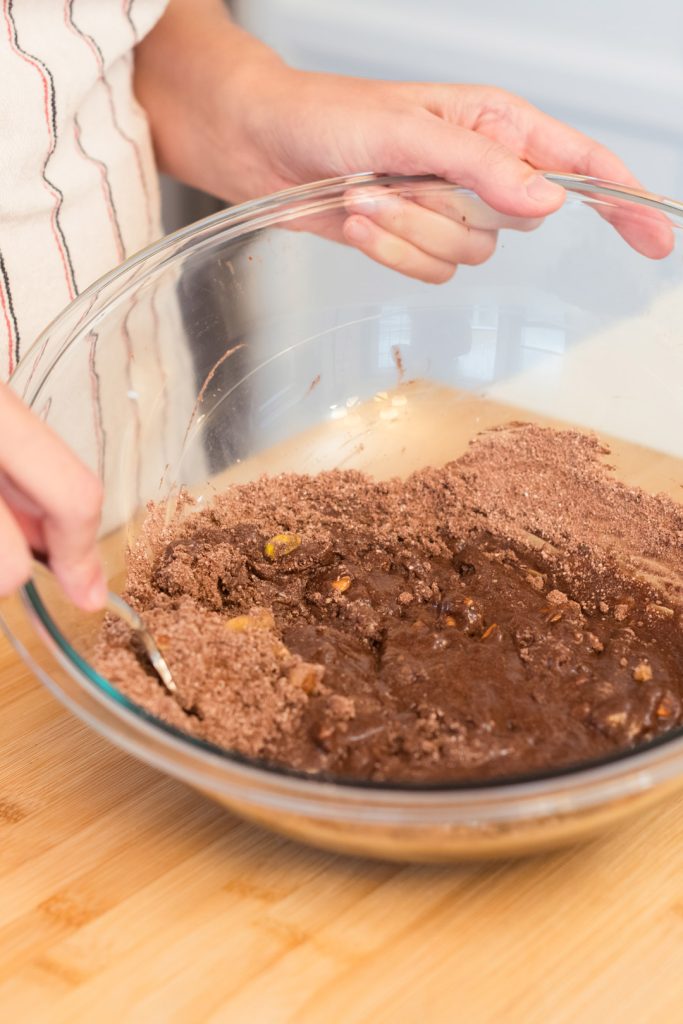
Pour the hot maple syrup over the cocoa mixture and mix well until all the ingredients are combined and without clumps.
Step 6
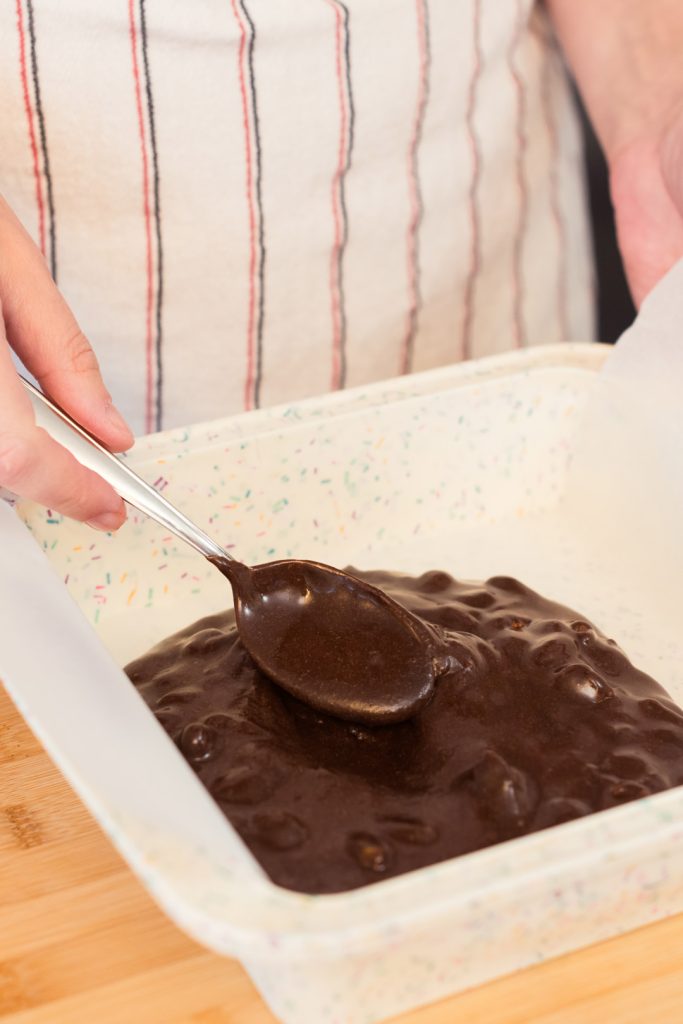
Transfer the fudge mixture to the baking dish and use a spatula to smooth out the top.
Step 7
Place the fudge in the freezer for at least 1 hour or until firm.
Once the fudge is set, lift it out of the baking dish using the parchment paper. Peel off the parchment paper and then place the fudge on a cutting board and cut it into squares, rectangles or any other shapes you like. Rinse the knife with warm water occasionally for cleaner cuts.
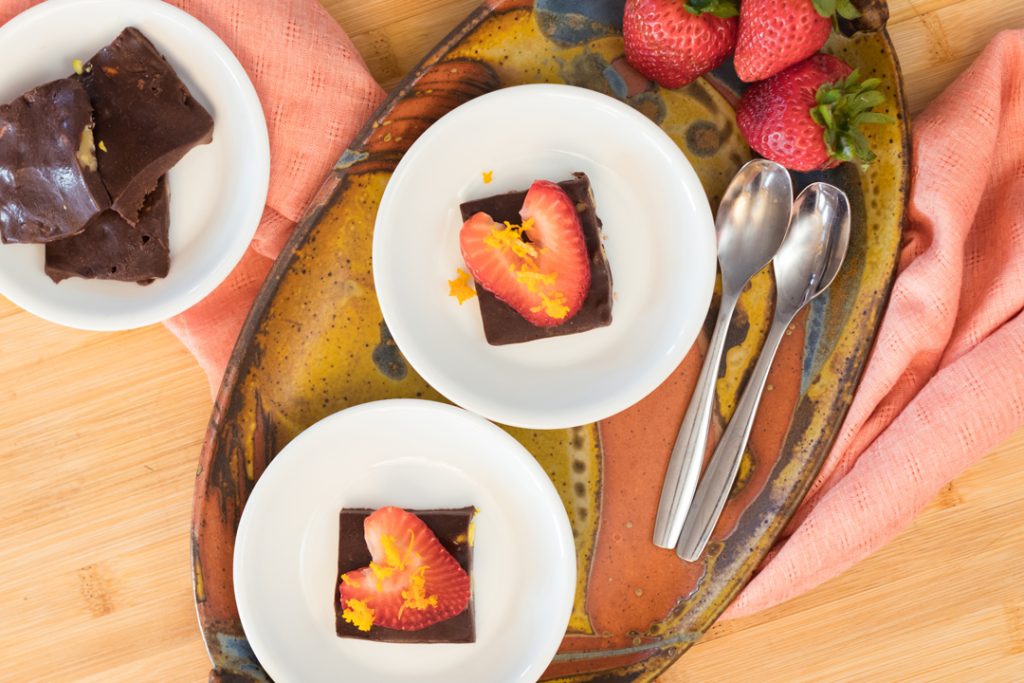
Sprinkle your favourite toppings and enjoy!
Storing and freezing tips
Store
Keep this fudgy masterpiece refrigerated in an airtight container for up to 2 weeks. Note that it softens at room temperature.
Freeze
For extended storage, this fudge freezes beautifully. Layer it between parchment paper in a freezer-safe container and store it in the freezer for up to 3 months.
Watch how to make it step-by-step!
How To Boost The Nutrition Of The Homemade Vegan Chocolate Fudge
Did you know that raw cacao is minimally processed and it retains more nutrients than cocoa powder? Choosing raw cacao not only increases the chocolate flavour of the fudge, but also adds brain-boosting benefits, thanks to flavonols, theobromine, antioxidants, vitamins and minerals.
For an extra touch of flavour and nutrition (healthy fats and fiber), consider sprinkling coconut flakes on top.
Homemade Vegan Chocolate Fudge (only 5 ingredients!)
- Prep Time: 5 mins
- Cook Time: 5 mins
- Total Time: 10 mins (freezing time not included)
- Yield: 12 small servings 1x
- Category: Dessert
- Cuisine: American
- Diet: Vegan
Description
This creamy homemade vegan chocolate fudge is a melt-in-your-mouth dream. Each bite is a delightful blend of sweetness and silkiness – the perfect treat for your sweet tooth. All you need are 5 simple ingredients and 10 minutes. You’ll be on your way to creating a dessert that is both easy and impressive.
Ingredients
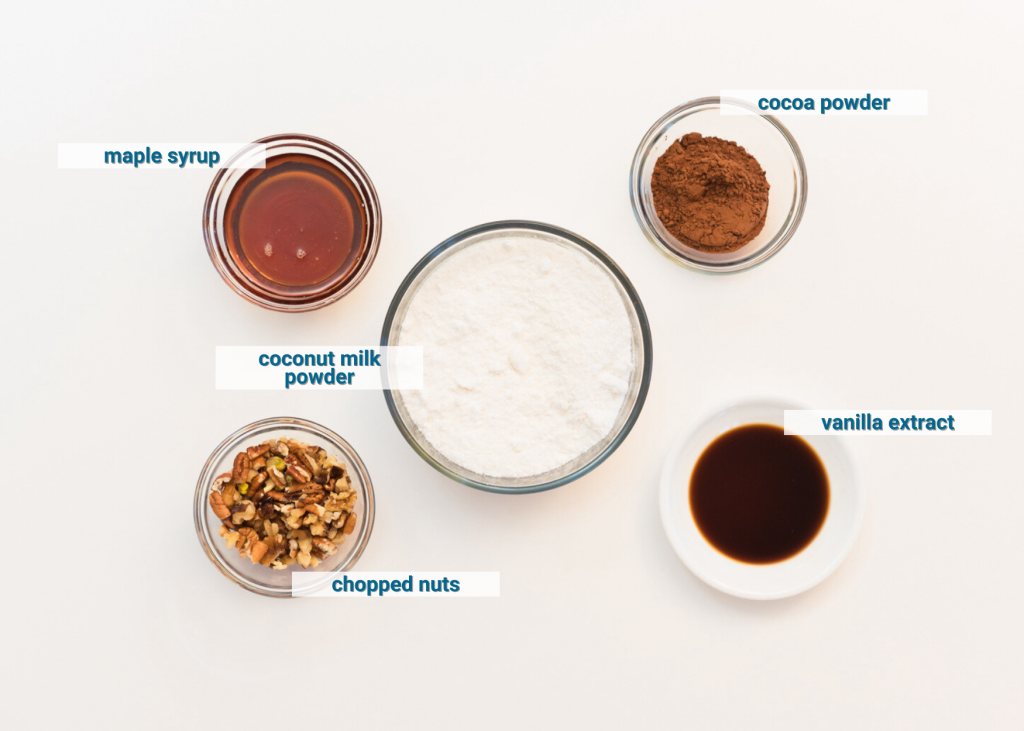
- 2 and 1/2 cups coconut milk powder
- 1/4 cup cocoa powder (see notes)
- 1/2 cup maple syrup
- 1 tablespoon vanilla extract
- 1/2 cup chopped nuts (see notes)
Toppings (optional):
Coconut flakes, nuts, sprinkles, flaky sea salt, caramel drizzle, citrus zest, strawberries.
Instructions
-
Line an 8×8” baking dish with parchment paper, leaving some overhang on the sides for easy removal. Set aside.
-
Sift the coconut milk powder and the cocoa powder. This will ensure that the consistency of the fudge will be smooth and free of clumps.
-
Stir in the vanilla extract.
-
Stir in the chopped nuts.
-
In a small saucepan heat the maple syrup over medium heat until it comes to a gentle boil. You don’t have to wait for the mixture to thicken. Remove from heat right when it starts boiling.
-
Pour the hot maple syrup over the cocoa mixture and mix well until all the ingredients are combined and without clumps.
-
Transfer the fudge mixture to the baking dish and use a spatula to smooth out the top.
-
Place the fudge in the freezer for at least 1 hour or until firm.
-
Once the fudge is set, lift it out of the baking dish using the parchment paper.
-
Peel off the parchment paper.
-
Place the fudge on a cutting board and cut it into squares, rectangles or any other shapes you like. Rinse the knife with warm water occasionally for cleaner cuts.
-
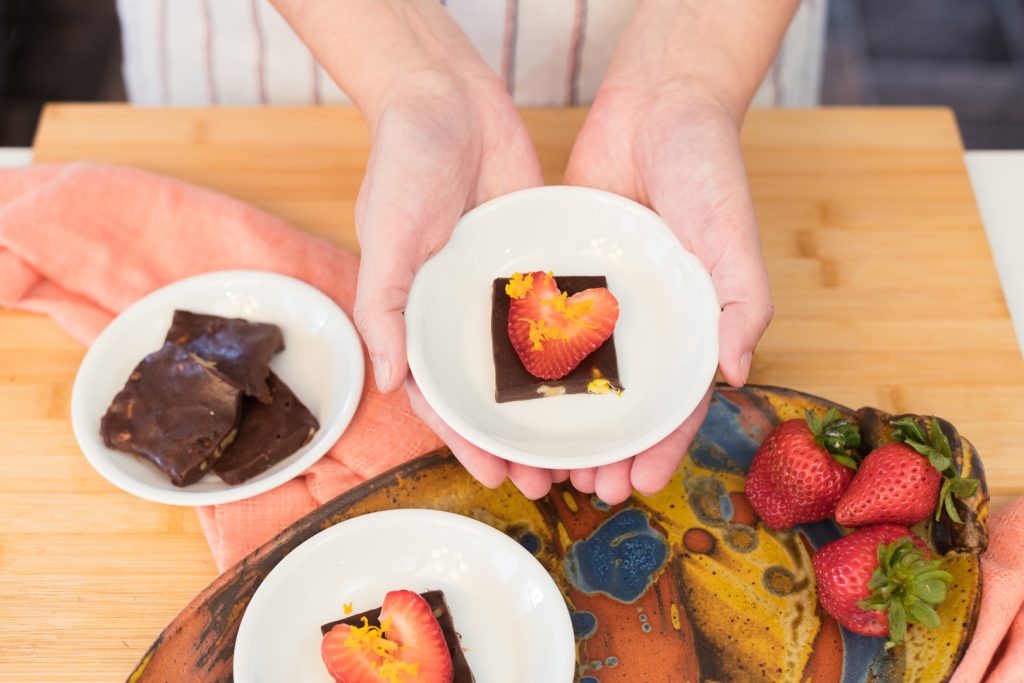
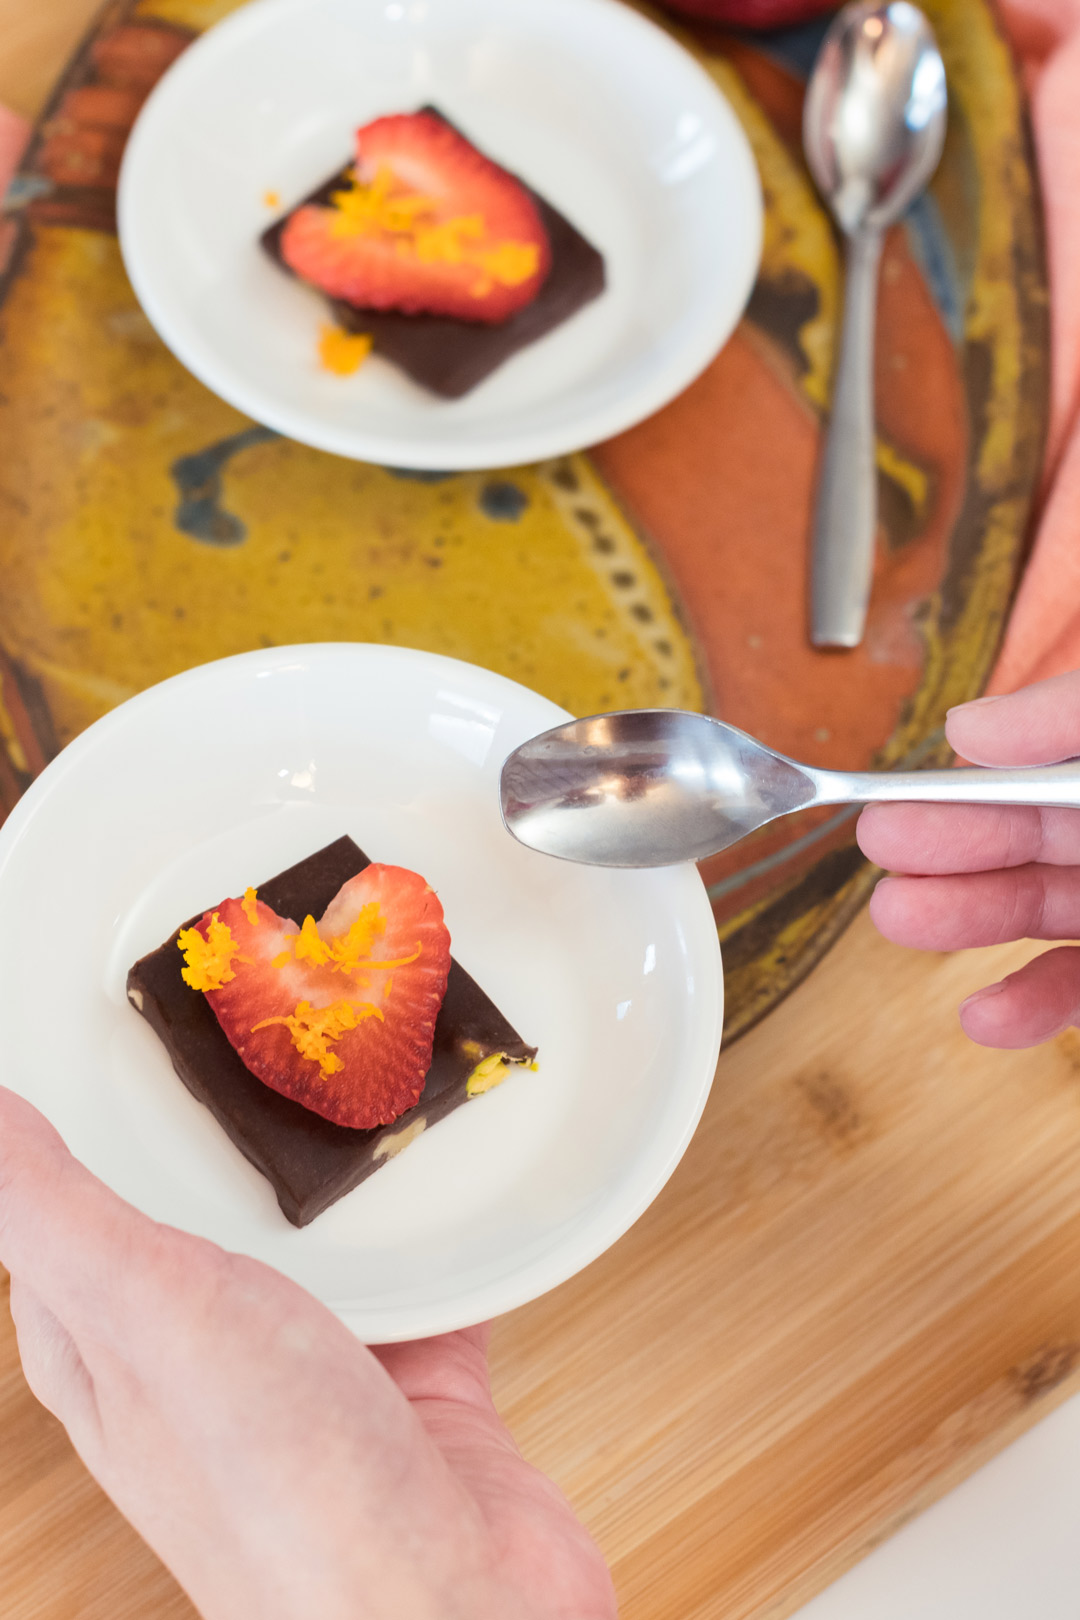
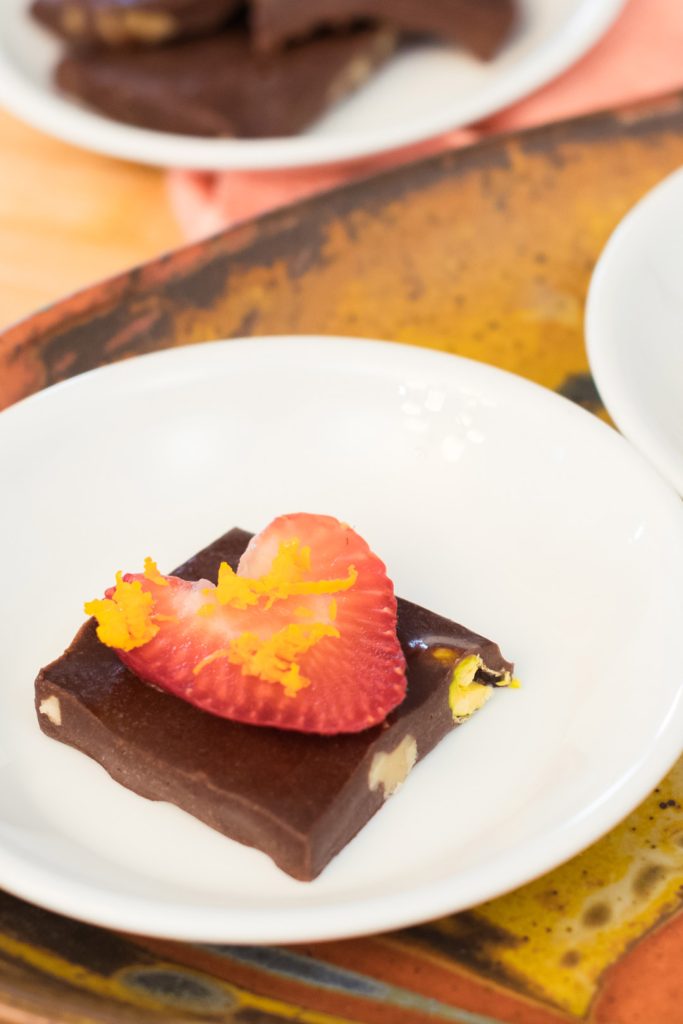
Sprinkle your favourite toppings. Today I chose strawberries and orange zest.
-
Store it in the fridge in an air-tight container.
Enjoy!
Notes
You can use raw cacao instead of cocoa powder. Raw cacao is minimally processed and retains more nutrients compared to cocoa powder.
Use your favourite nuts. Today I used a mix of walnuts, pecans and pistachios. You can lightly toast the nuts before adding them to the cocoa mixture to enrich the fudge and add depth.
This is the silicone dish I use, but any 8×8 baking dish works.
Frequently Asked Questions For Homemade Vegan Chocolate Fudge
Is this chocolate fudge healthy?
I can’t say that this dessert is healthy, as it has sugar from the maple syrup. It is healthier than other fudge recipes that are made with corn syrup, sweetened condensed milk or marshmallow fluff. Treat it like a dessert and indulge in moderation.
Is this fudge vegan?
Yes. It has coconut milk powder instead of dairy milk powder.
Is this homemade vegan chocolate fudge gluten-free?
Yes, the Homemade Vegan Chocolate Fudge is gluten free.
Is this fudge dairy free?
Yes, as long as you use coconut milk powder.
What to do with dry fudge?
There are many things to do with any leftover fudge that has dried in the fridge. One of them is to place it in a mug, add hot milk, stir until smooth and have yourself a delicious cup of hot chocolate.
What To Cook Next
Are you craving another yummy and healthy recipe that boosts brain health? Join me in making these no bake high protein energy bites. They disappear quickly in my family – not too sweet, loaded with healthy fats and incredibly portable, making them the perfect snack option!
